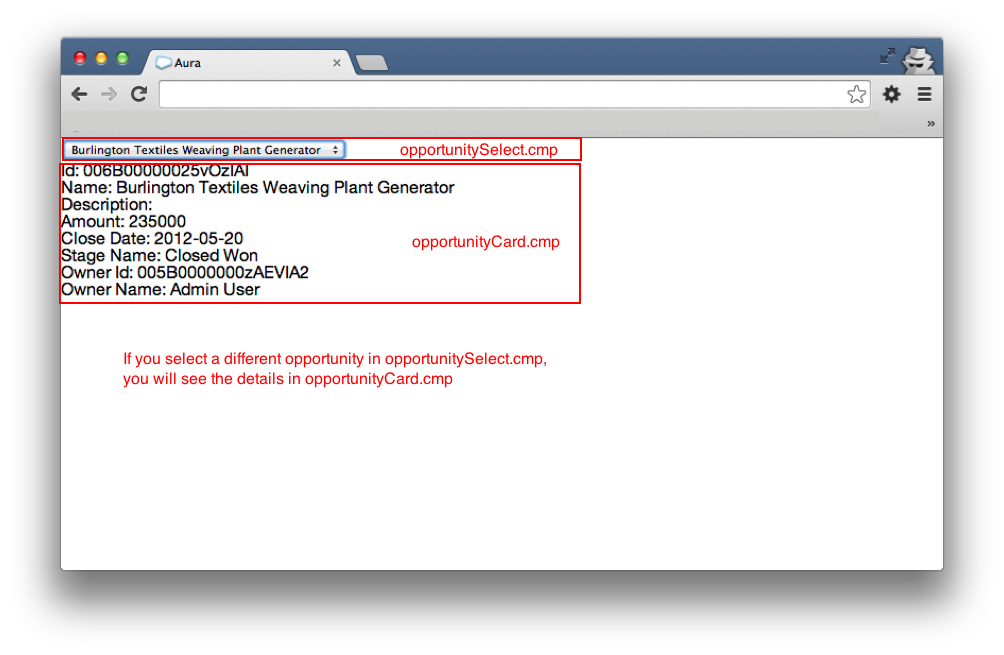
In this tutorial we will create another component opportunityCard.cmp that listens to opportunitySelect.evt event and then calls an Apex controller opportunityController on the server to retrieve component details. Finally opportunityCard.cmp uses the data from opportunityController and displays it in a simple form.
Create Apex Controller.
Create opportunityController Apex controller.
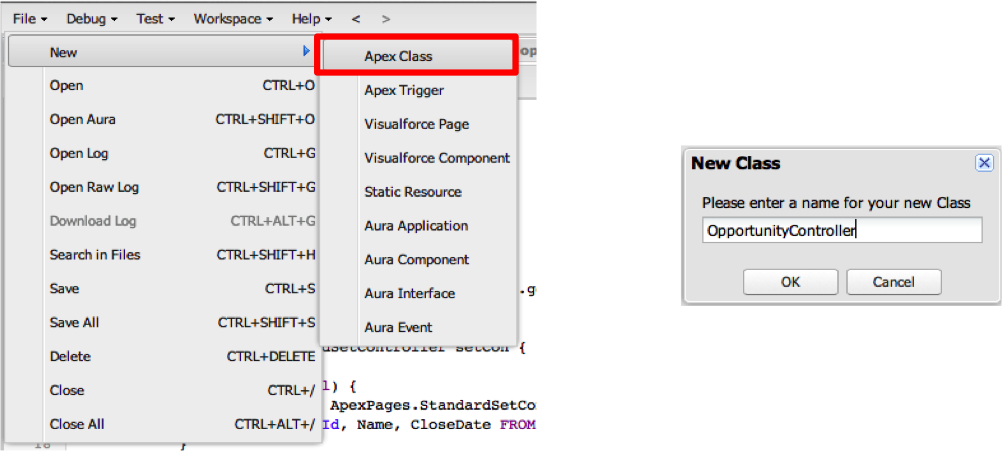
- Select File > New > Apex Class
- Enter OpportunityController for the name
- Click Submit

- Paste the following code. It has a method
getOpportunitythat returns an Opportunity details for a givenId.
public class OpportunityController { @AuraEnabled public static Opportunity getOpportunity(Id id) { Opportunity opportunity = [ SELECT Id, Account.Name, Name, CloseDate, Owner.Name, Amount, Description, StageName FROM Opportunity WHERE Id = :id ]; return opportunity; }}@AuraEnabled and staticNote: Aura controller can only call Apex controller methods that have
@AuraEnabledannotation and areStatic.
Create 2nd Component
Let’s create another component opportunityCard.cmp.
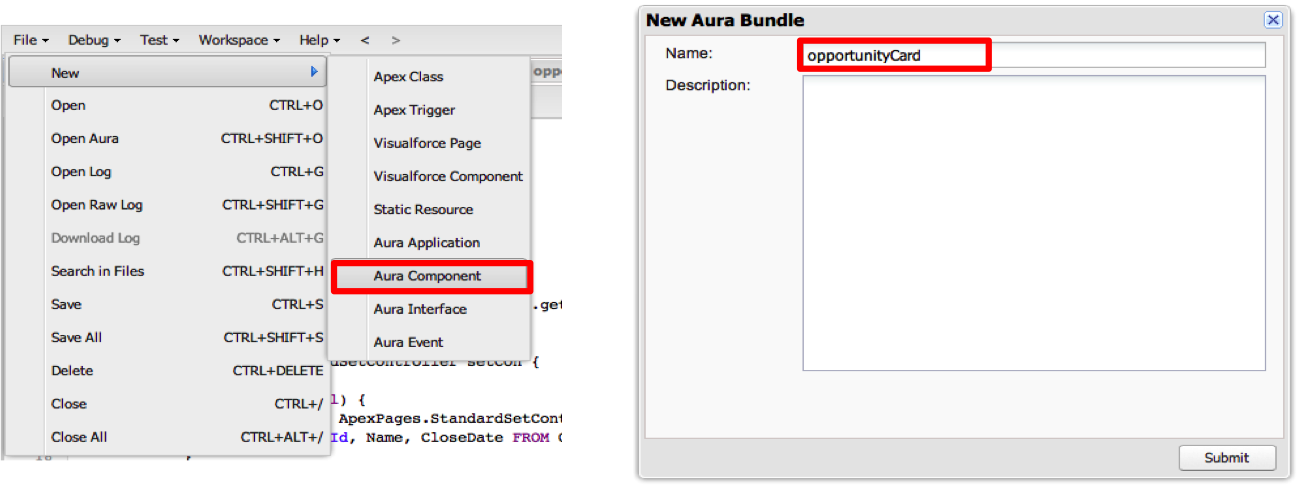
- Select File > New > Aura Component
- Enter opportunityCard for the name
- Click Submit

- Add the following code to connect to
opportunityControllerApex controller.
<aura:component controller="NAMESPACE.OpportunityController"></aura:component(Remember to change the namespace)
Handle Event
Update the opportunityCard.cmp` Component’s markup to handle the event.
<aura:component controller="NAMESPACE.OpportunityController"> <aura:handler event="NAMESPACE:selectOpportunity" action="{!c.handleSelectOpportunity}" /> <div>Id: {!m.Id}</div> <div>Name: {!m.Name}</div> <div>Description: {!m.Description}</div> <div>Amount: {!m.Amount}</div> <div>Close Date: {!m.CloseDate}</div> <div>Stage Name: {!m.StageName}</div> <div>Owner Id: {!m.OwnerId}</div> <div>Owner Name: {!m.OwnerName}</div></aura:component>Let’s look at the code:
This connects the component to Apex controller.
This makes this component to listen toNAMESPACE:selectOpportunityand call Javascript controllerc.handleSelectOpportunity.<div>Id: {!m.Id}</div>m.prefix stands for model. Typically when we get data from the server it can be accessed by usingm.myServerData.
Add it to the App
Open our Opportunities.app and embed this component <NAMESPACE:opportunityCard/> below opportunitySelect component so the application looks like below:
<aura:application> <NAMESPACE:opportunitySelect/> <NAMESPACE:opportunityCard/> </aura:application>Test The App
Click on the “Preview” button in the side panel of the app or open up https://<yourOrg>/<namespace>/<appName>.app in a browser.
