In this unit, you'll run the forceios app you created earlier.
Before we can run the app in Xcode, we need to first run React Native CLI. This tool internally watches for any changes made to the app and updates the native app.
While still in the ReactNativeSample folder, run: npm start
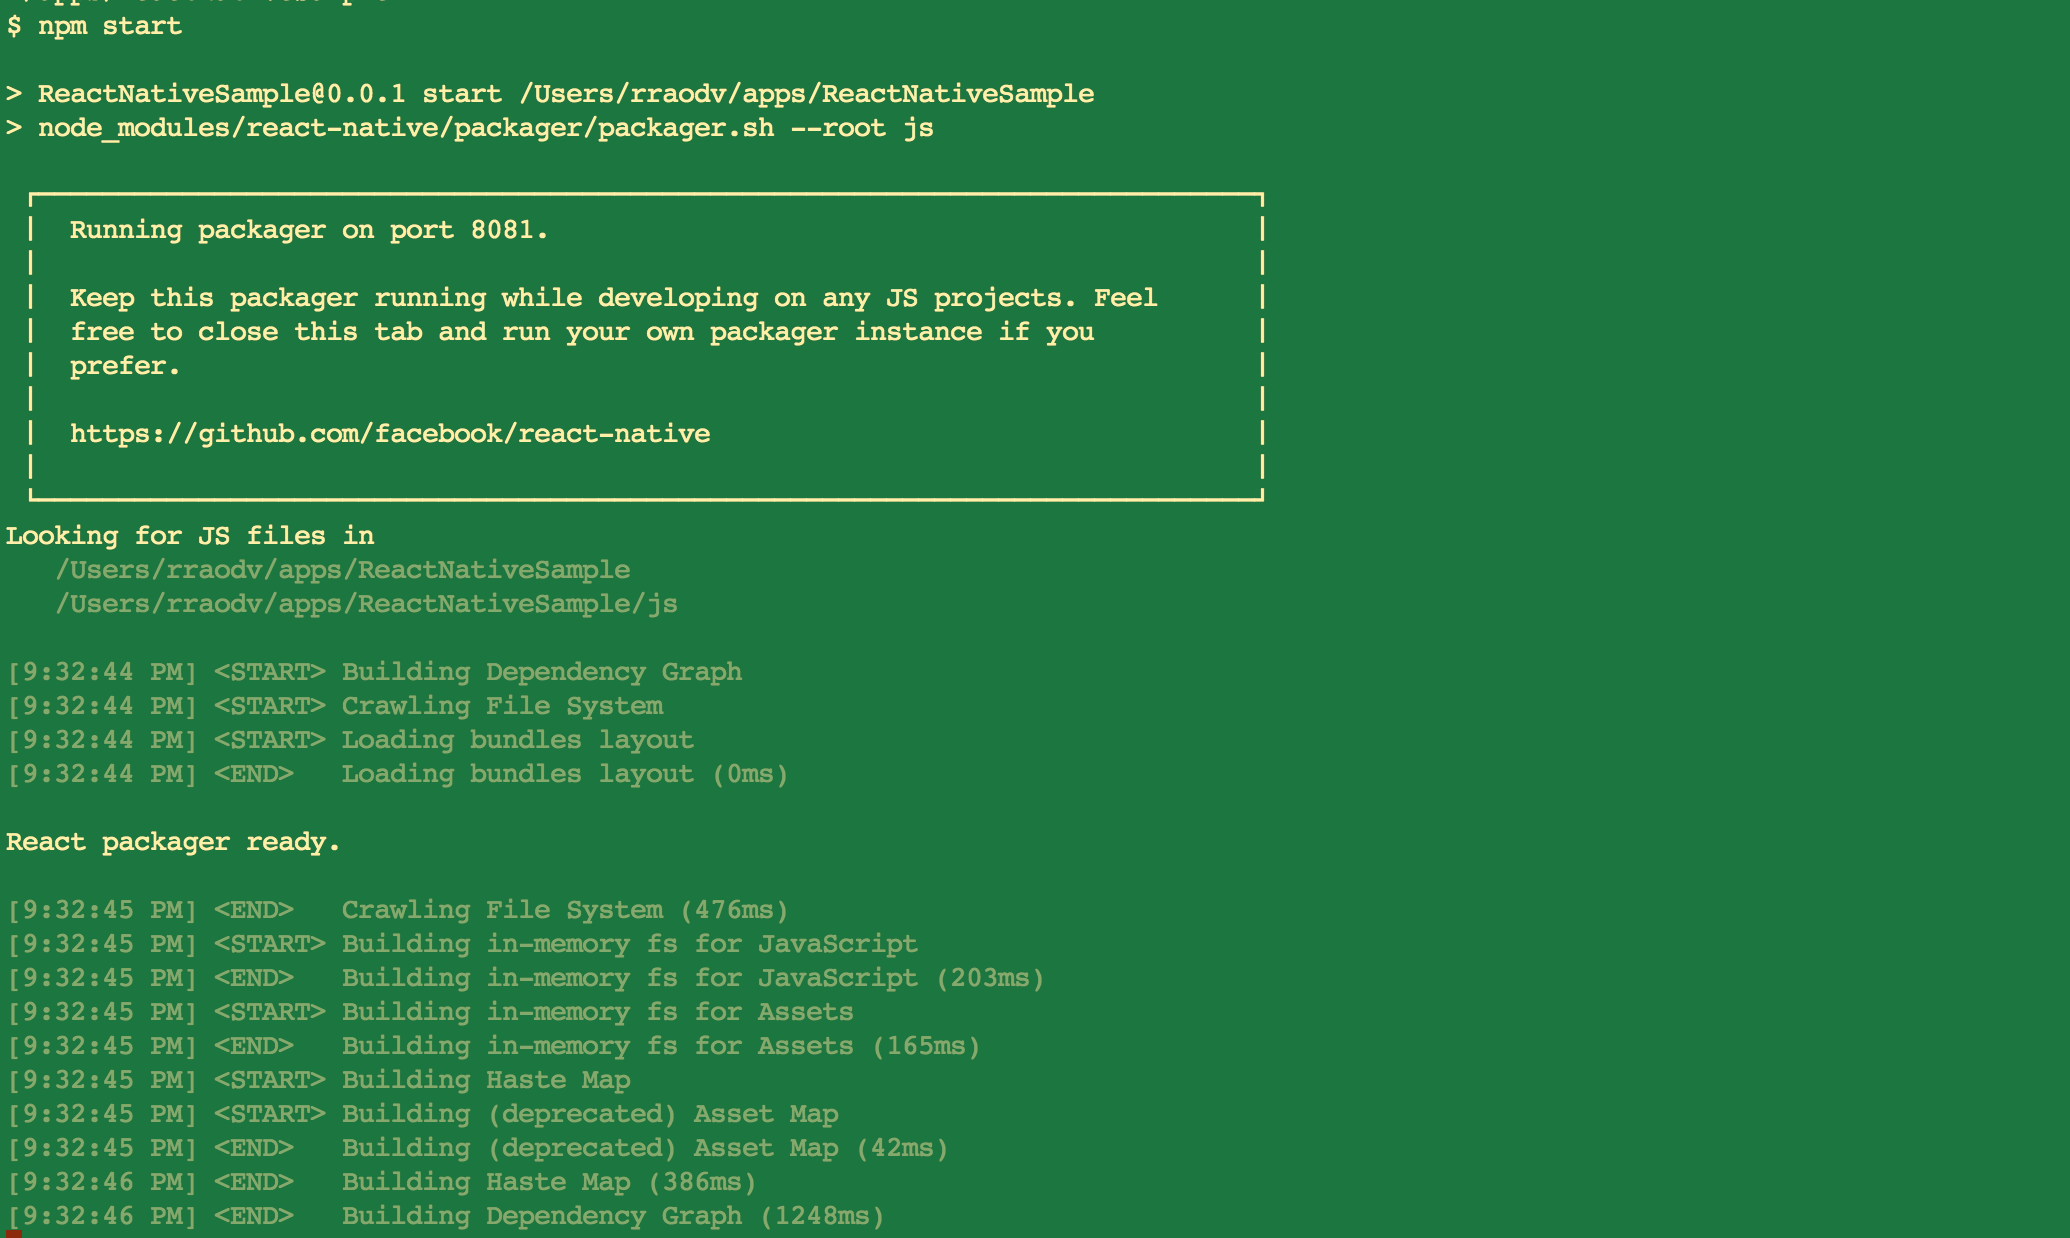
Keep the React Native CLI running and switch to Xcode.
Change the target to "ReactNativeSample" (near the top left corner)
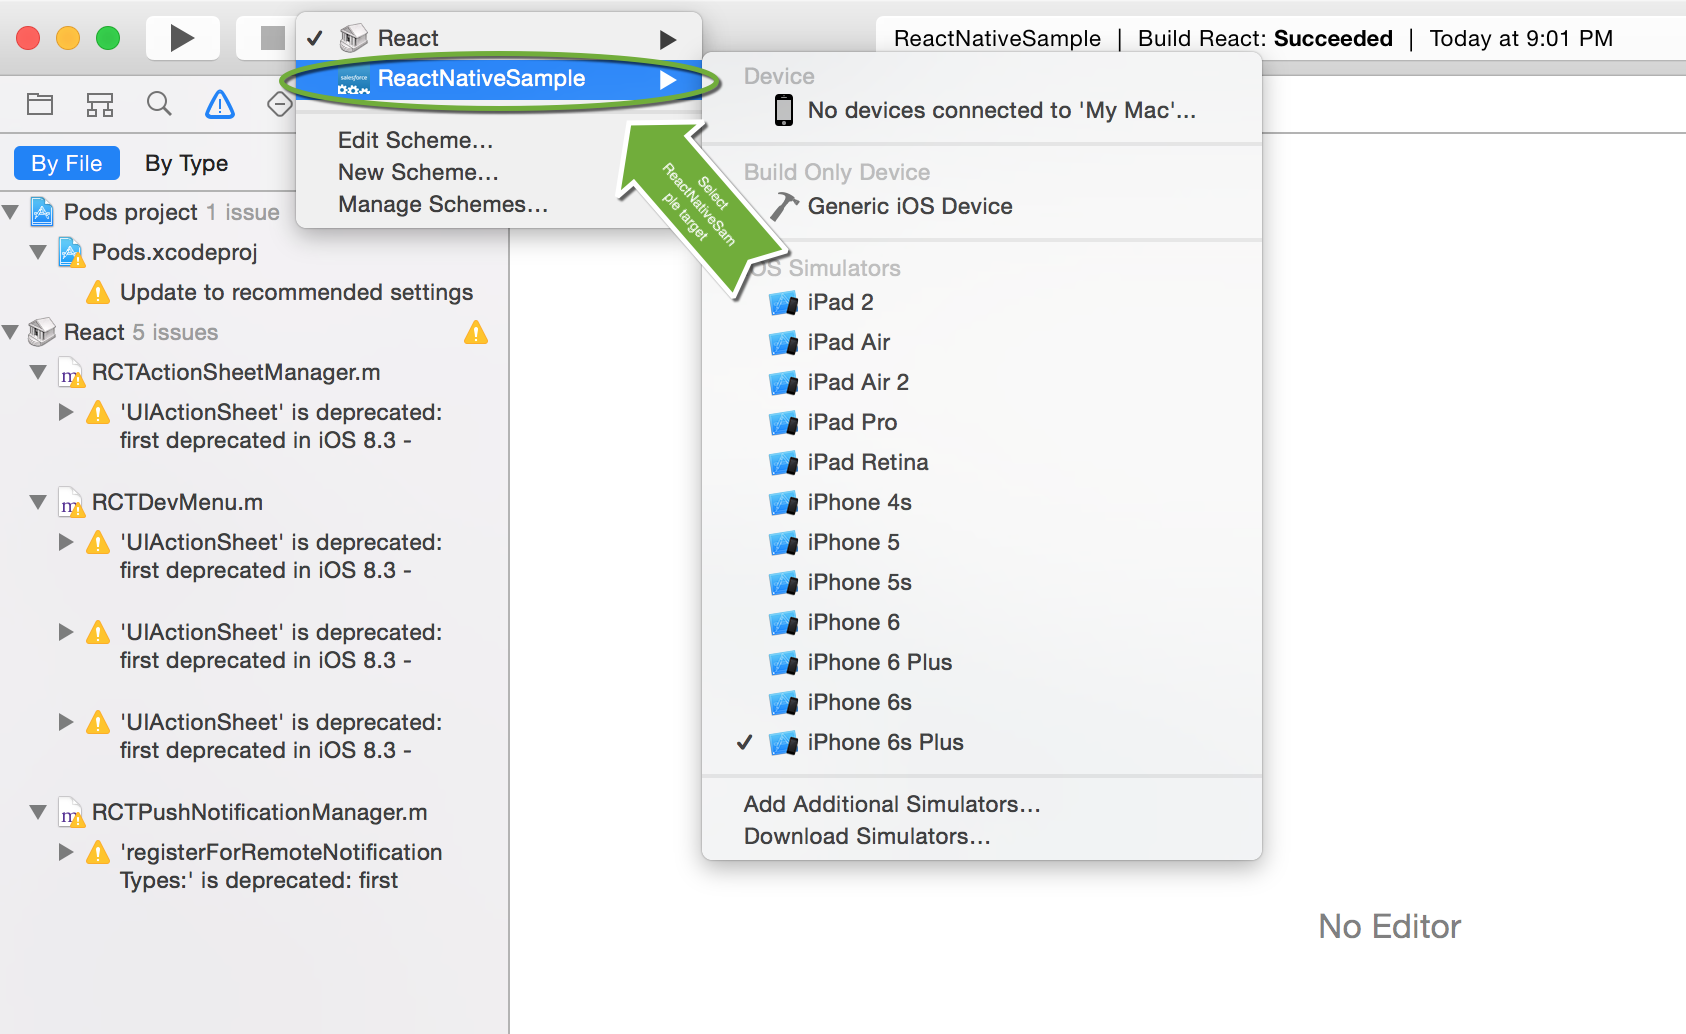
Click the "Build and Run" (the "Arrow" button near the top-left corner).
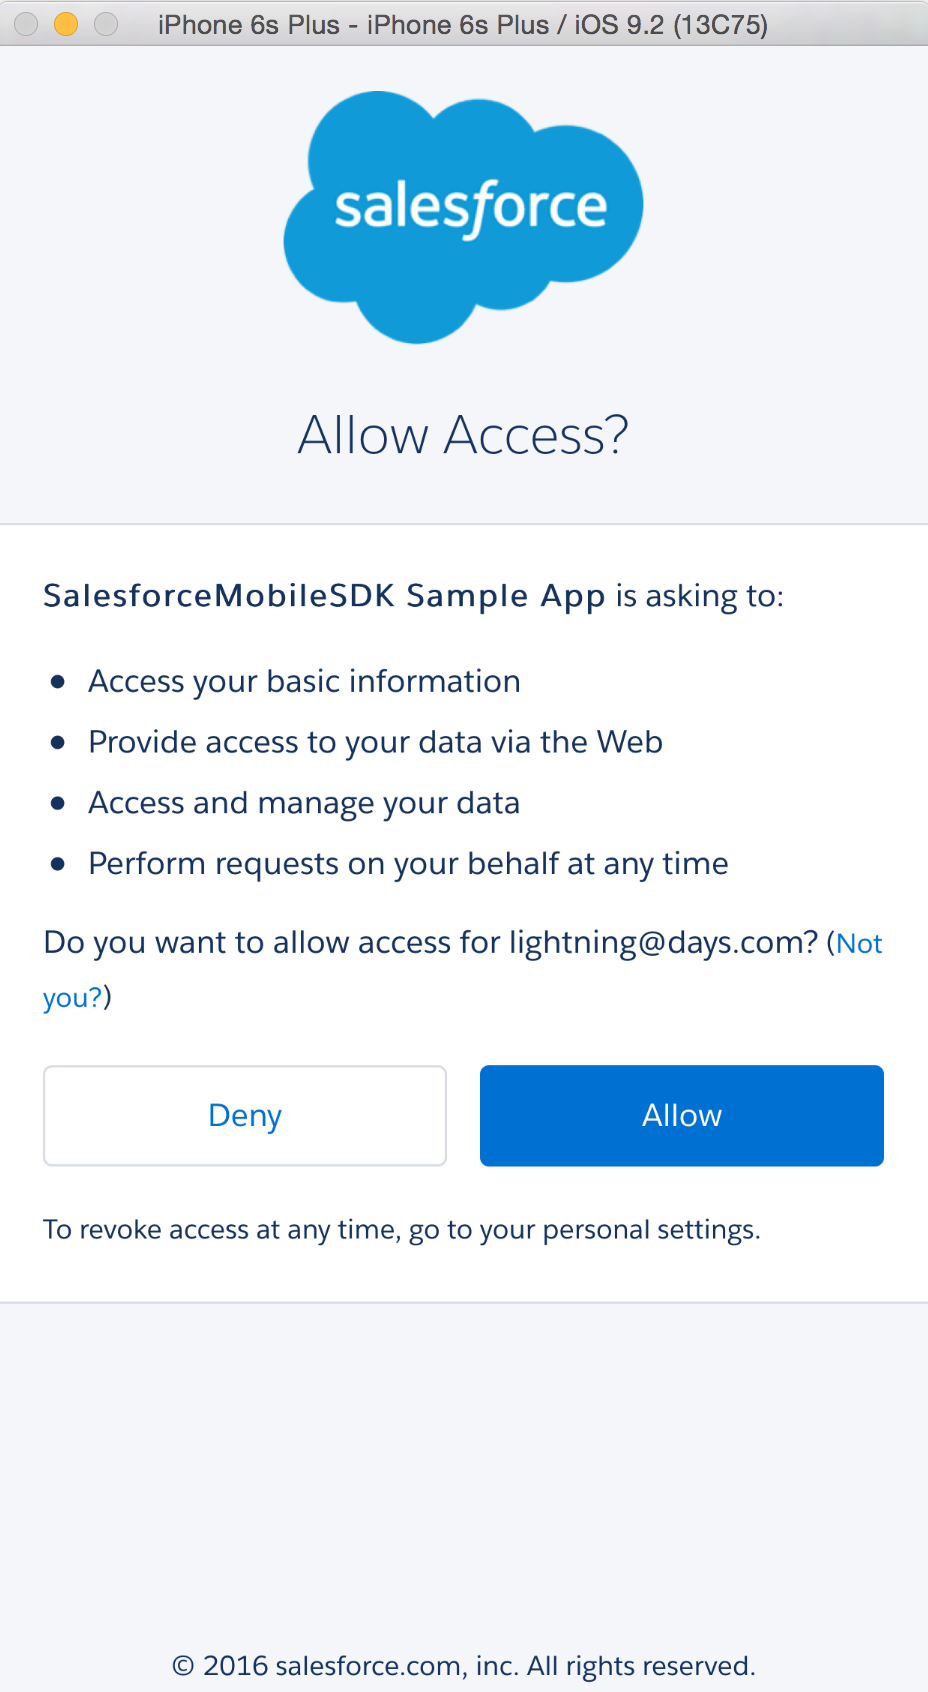
You should see the Simulator app open and ask for Salesforce Login
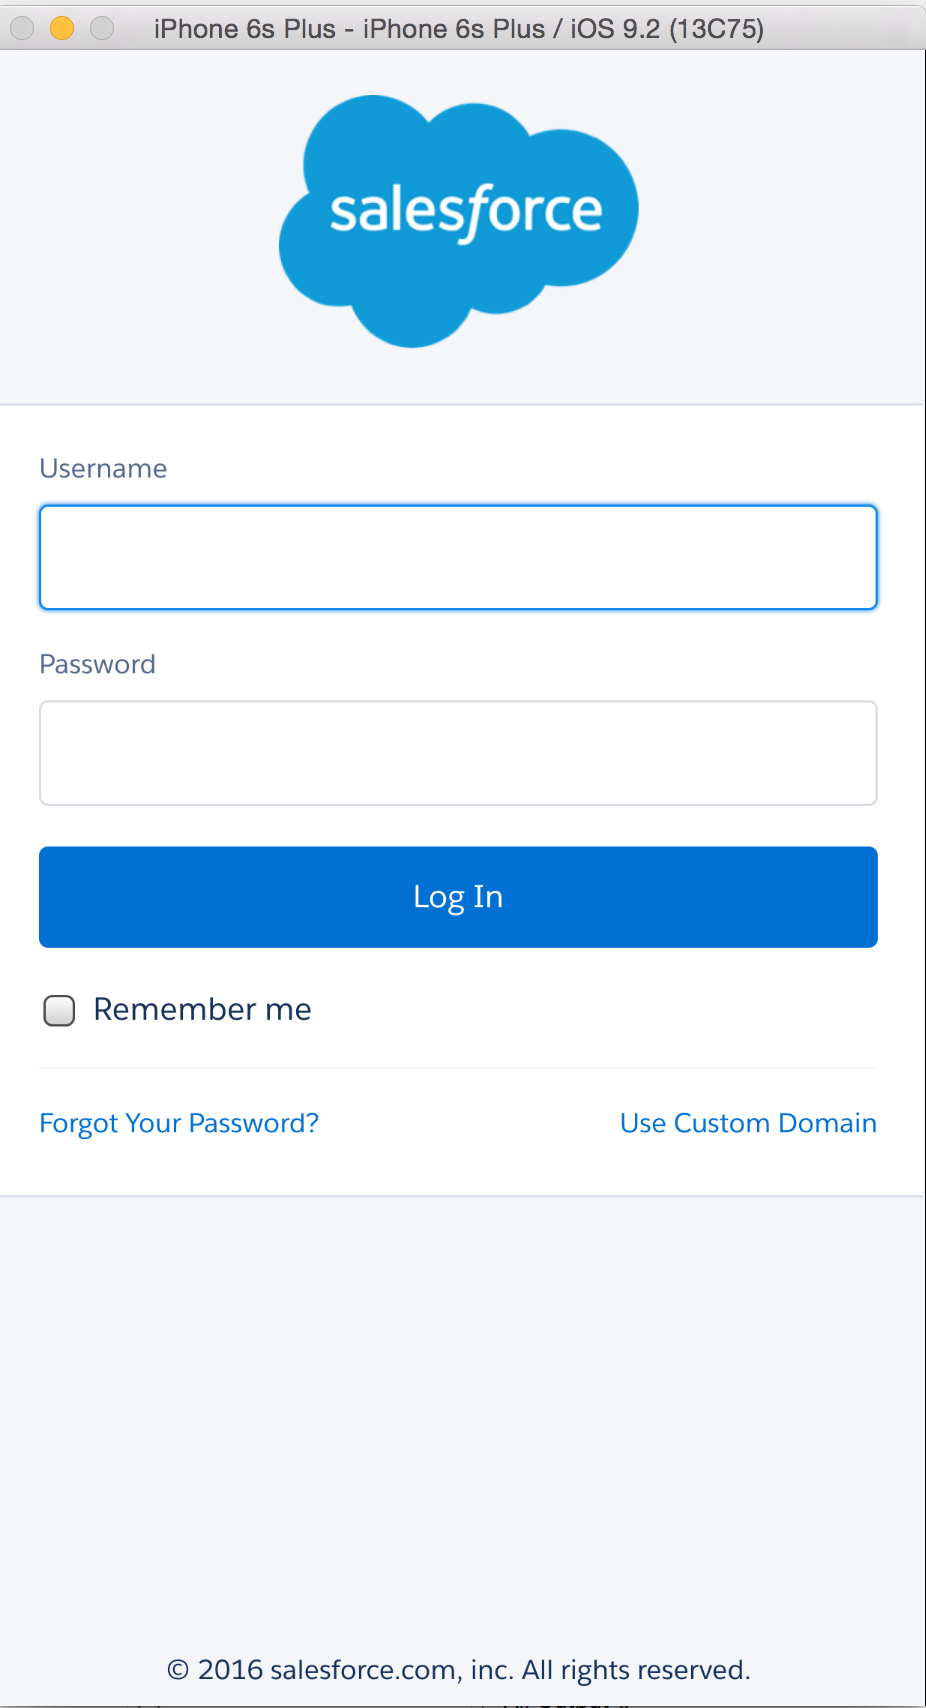
Sometimes Simulator app opens behind the Xcode, so you may need to manually switch to it and bring it forefront.
Login using any Salesforce developer Org. credentials.
Click "Allow" in the next OAuth screen.
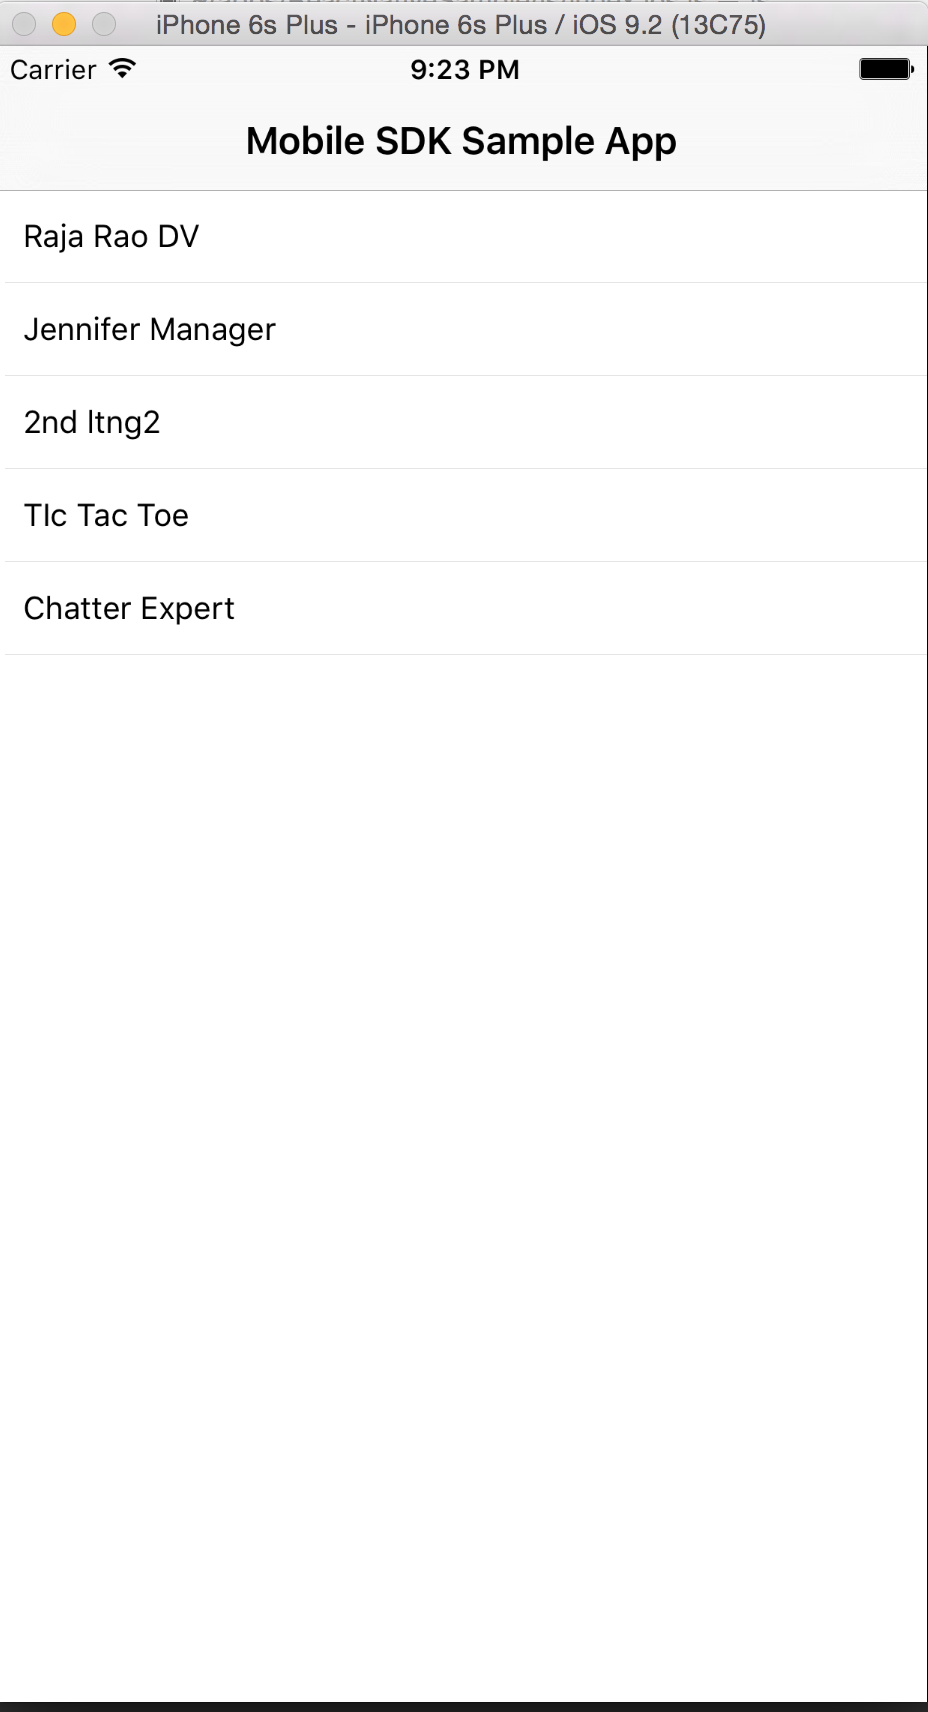
You should now see the sample app that shows list of Salesforce users in that Org.