In this unit, you set up a developer environment to build Swift app using Salesforce Mobile SDK. You'll install quiet a lot of tools but the good news is that it's just one time setup. And after that, you'll be able to build complex Native apps using mainly React and JavaScript knowledge.
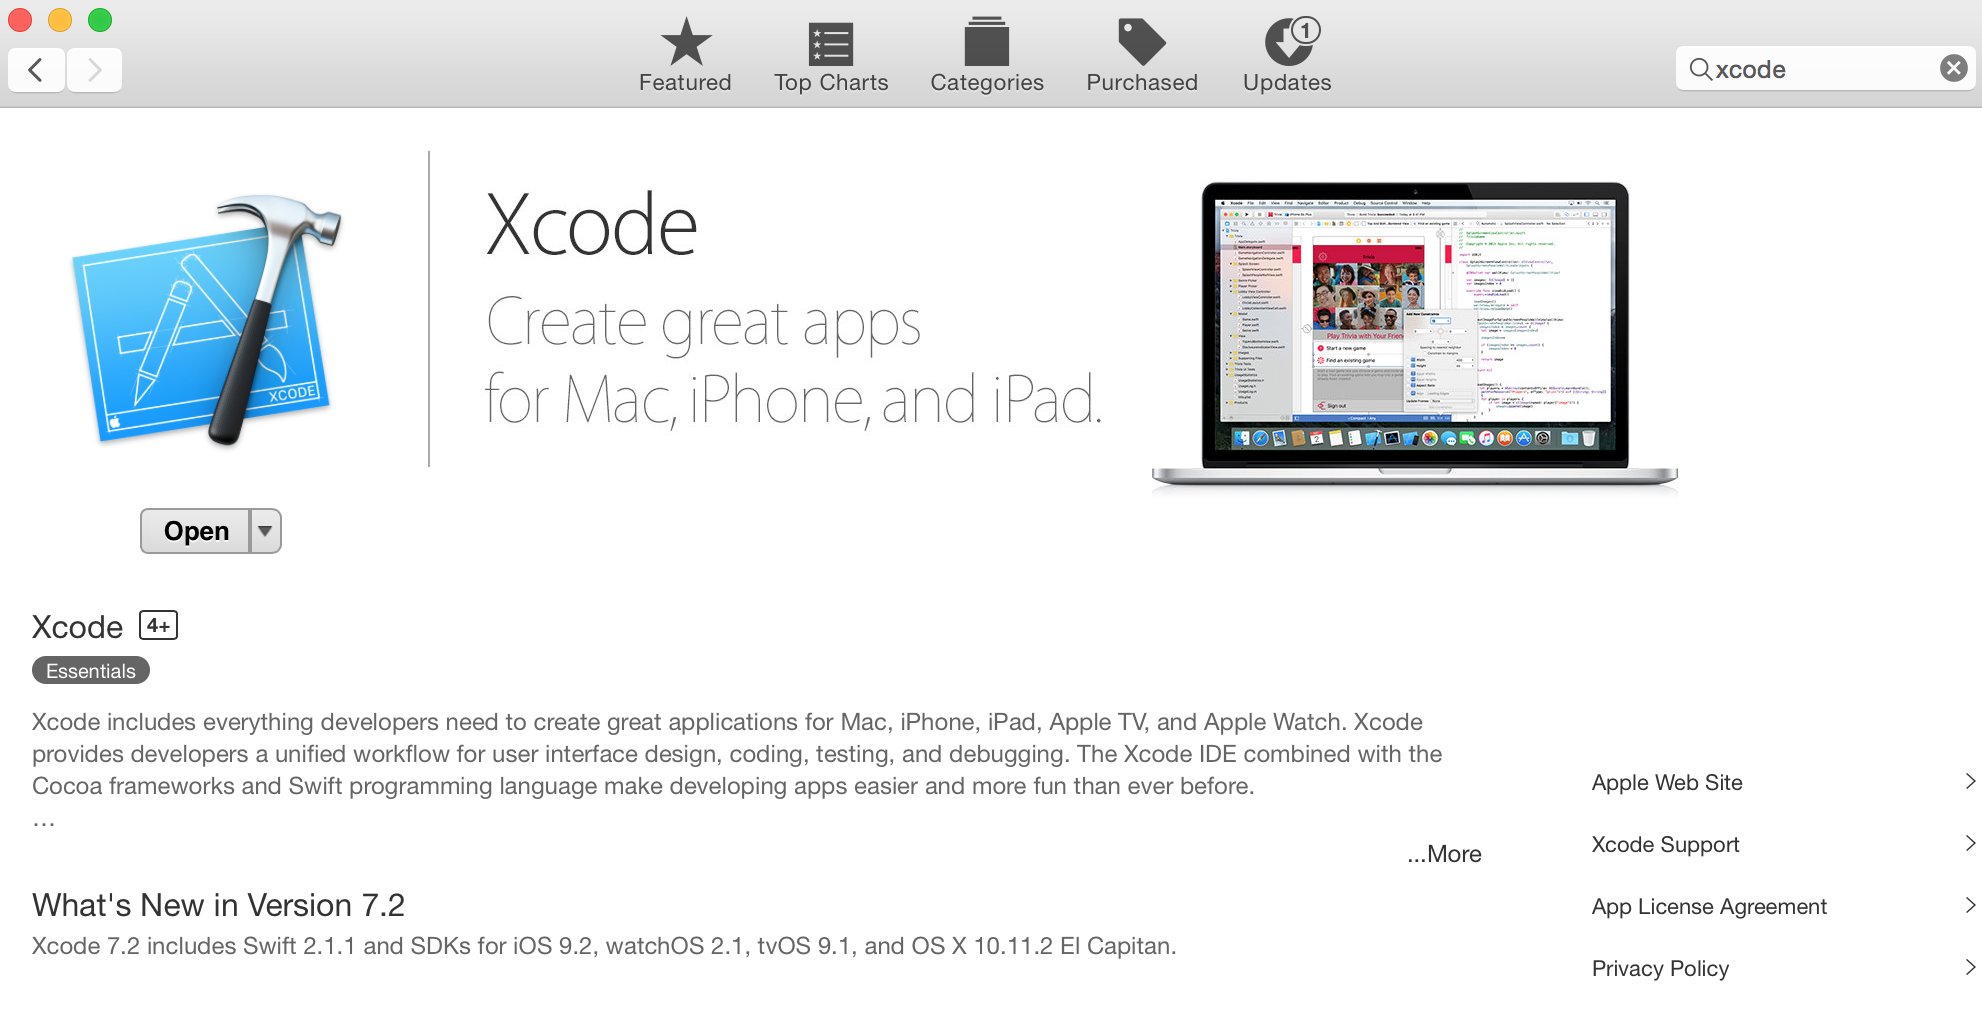
open to open Xcode.Note: Latest Xcode version is: 7.2
Salesforce Mobile SDK's forceios tool, React and Swift all need node.js. Install Node.js if you don't have it yet.
node -v, you should see current Node version.Now, type npm -v, you should see npm's(Node Package Manager) current version.
npmis a command line tool that is installed as part of Node.js installation and is used to install various node.js libraries includingforceios.
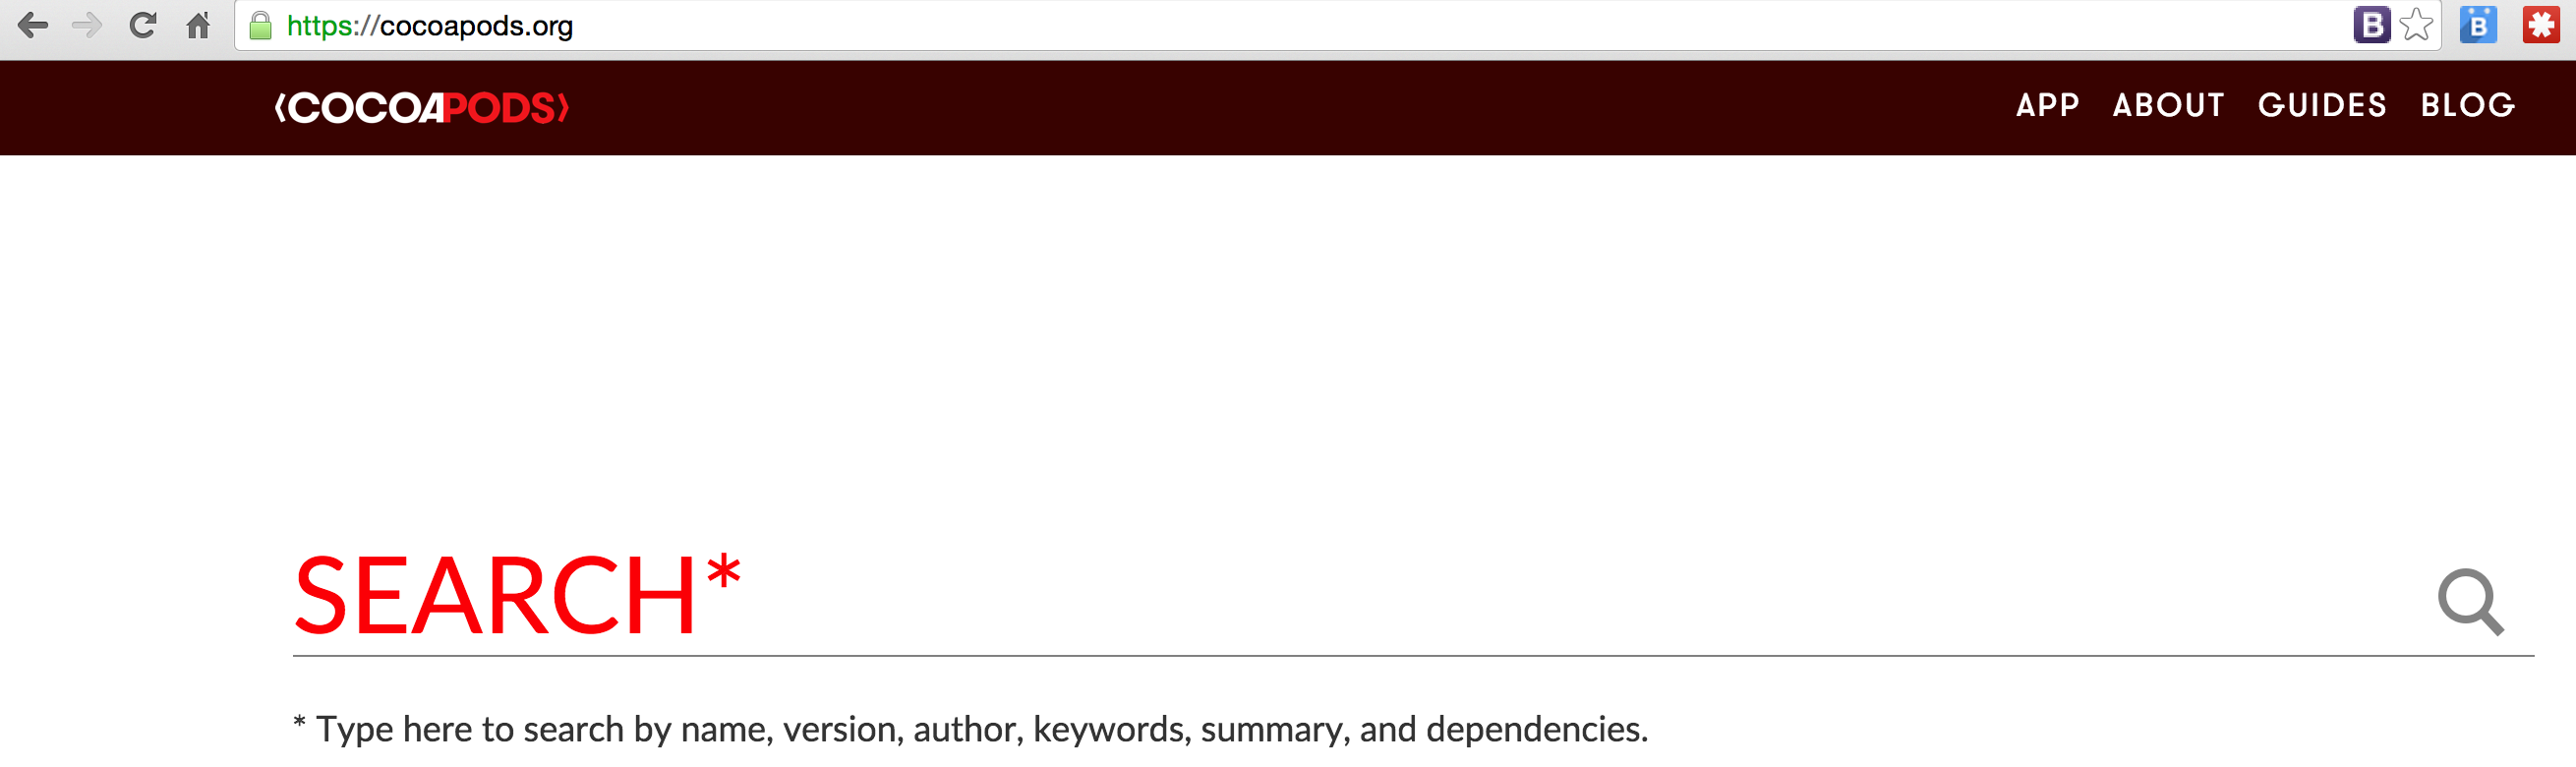
CocoaPods is a dependency manager for Objective-C and Swift projects. It's similar to 'npm' in the Node.js World. Salesforce Mobile SDK uses CocoaPods to install several iOS libraries.
sudo gem install cocoapods